Can You Paint on a Wet Wall?
Short answer: No, it is strongly discouraged. Painting on a damp wall leads to adhesion problems and promotes mold growth. Here is why and how to proceed correctly.
Wall Moisture Level: What to Do?
| Level | Status | Recommended action |
|---|---|---|
| < 5% | Optimal | Painting possible immediately |
| 5-8% | Limit | Mandatory use of anti-humidity primer |
| 8-12% | Too humid | Wait for drying or dehumidify |
| > 12% | Forbidden | Treat the cause before any painting |
Source: DTU 59.1 - Building painting works
The answer is NO
Painting directly onto a damp wall is a bad idea. The paint will not adhere properly to a wet surface; it will blister, peel, and will not last over time. Even worse, you risk trapping moisture under the paint, promoting the growth of mold that is invisible but harmful to your health.
Risks of Painting on a Wet Wall
Poor adhesion
Water prevents the paint from drying correctly and adhering to the substrate. It will blister and peel within a few weeks or months.
Mold development
Moisture trapped under the paint creates an ideal environment for fungi and mold, with risks to your health.
Stains and rings
Moisture can migrate through the paint, creating stains, rings, and unsightly color changes.
Work to be redone
You will have to redo everything: strip the damaged paint, treat the wall, then repaint. Double cost and double work.
What to Do Before Painting a Wet Wall?
First of all, you must identify and treat the source of the humidity. Once the problem is solved, let the wall dry completely (several weeks or even months) before painting.
1. Diagnose the origin of the humidity
Infiltration? Condensation? Rising damp? Each cause requires a specific treatment. Consult our complete guide on treating humidity.
2. Treat the problem at the source
Repair the leak, improve ventilation, treat rising damp... Do not simply mask the symptoms with paint.
3. Let the wall dry
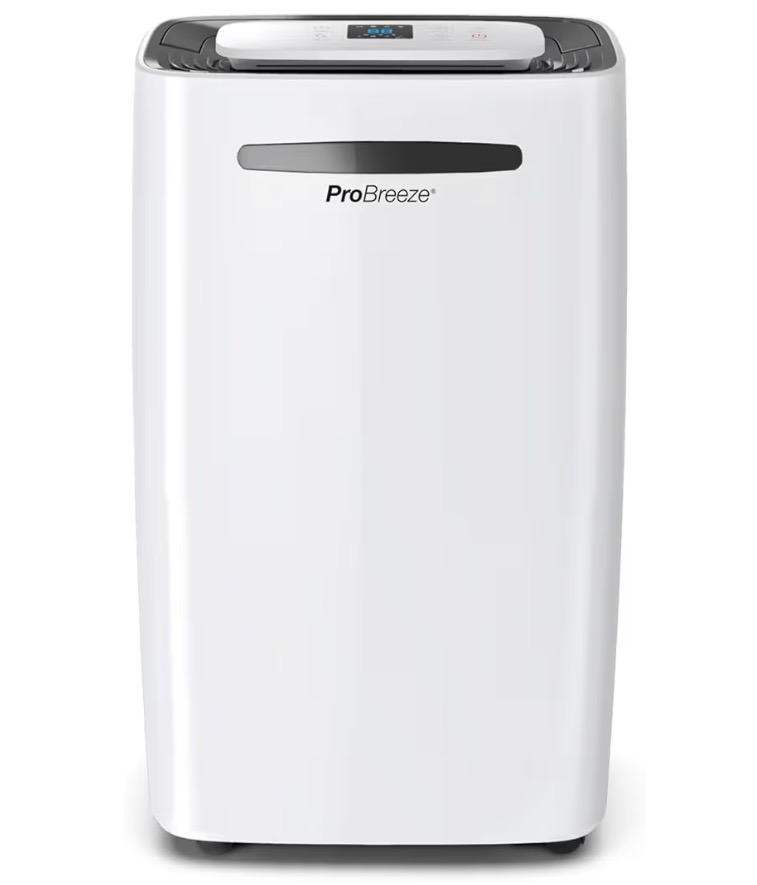
Use a dehumidifier and ventilate the room well. Check the moisture level of the wall with a hygrometer: it must be less than 5% to be able to paint.
4. Apply an anti-humidity treatment
Once the wall is dry, apply an anti-humidity primer or a water-repellent treatment before the final paint to prevent the problem from reappearing.
Case Study: The Cost of Impatience
Mr. Lefebvre - Apartment in Rennes, built 1985
Painted on a wet wall, blistered paint and mold in 3 months
Untreated condensation, unsuitable primer, no drying time
Complete stripping, source treatment (VMC), 4-week drying, anti-humidity primer
First failed paint: €180 • Stripping: €15/m² • Full treatment: €45/m²
Durable paint, no problems after 2 years
Initial saving of €200 → final extra cost of €850
What About "Anti-Humidity" Paints?
There are so-called "anti-humidity" or "microporous" paints that allow the wall to breathe to some extent. Caution: these paints do not solve the humidity problem; they simply help limit visual damage.
These products can be useful in addition to an underlying treatment, but never as a replacement. If you paint on a damp wall with a special paint without treating the cause, the problem will return sooner or later.
Our advice
Never use anti-humidity paint as a "miracle solution." Treat the problem at the source first, let it dry, then use a suitable primer followed by a quality paint for a long-lasting result.
In Summary
- Never paint directly on a damp wall
- Identify and treat the cause of humidity as a priority
- Let it dry the wall completely (hygrometer < 5%)
- Apply a primer suitable before final painting
Sources and references
This article relies on official, verified sources to guarantee reliable information.
- [1]
- [2]
- [3]
- [4]Substrate moisture - Recommendations— Qualibat
Marc Leblanc
Verified expertHouse painter
22 years of experience in painting and difficult substrates